

How To Put Photo In Adobe Illustrator Template
Insert/Import Image in Illustrator
Images might be important for yous to work on creating artwork in Insert Image in Adobe Illustrator. One time you know how to import an prototype into your Illustrator certificate, it becomes very like shooting fish in a barrel to create amazing visuals using them. Whether an image is in PNG or JPEG, you lot tin can effortlessly place information technology into your document.
How to Insert Image in Illustrator?
Step 1: Open an Existing or new Adobe Illustrator File. If you have already created a file, you need to add an image to that; then, after opening the saved document, you can proceed ahead with a new epitome into the document. Else, if you want to try creating a new document and effort seeing how adding an image works in Illustrator, then accordingly, you lot tin go for the Illustrator icon on the desktop or open up Illustrator straight from the search menu and launch the programme.
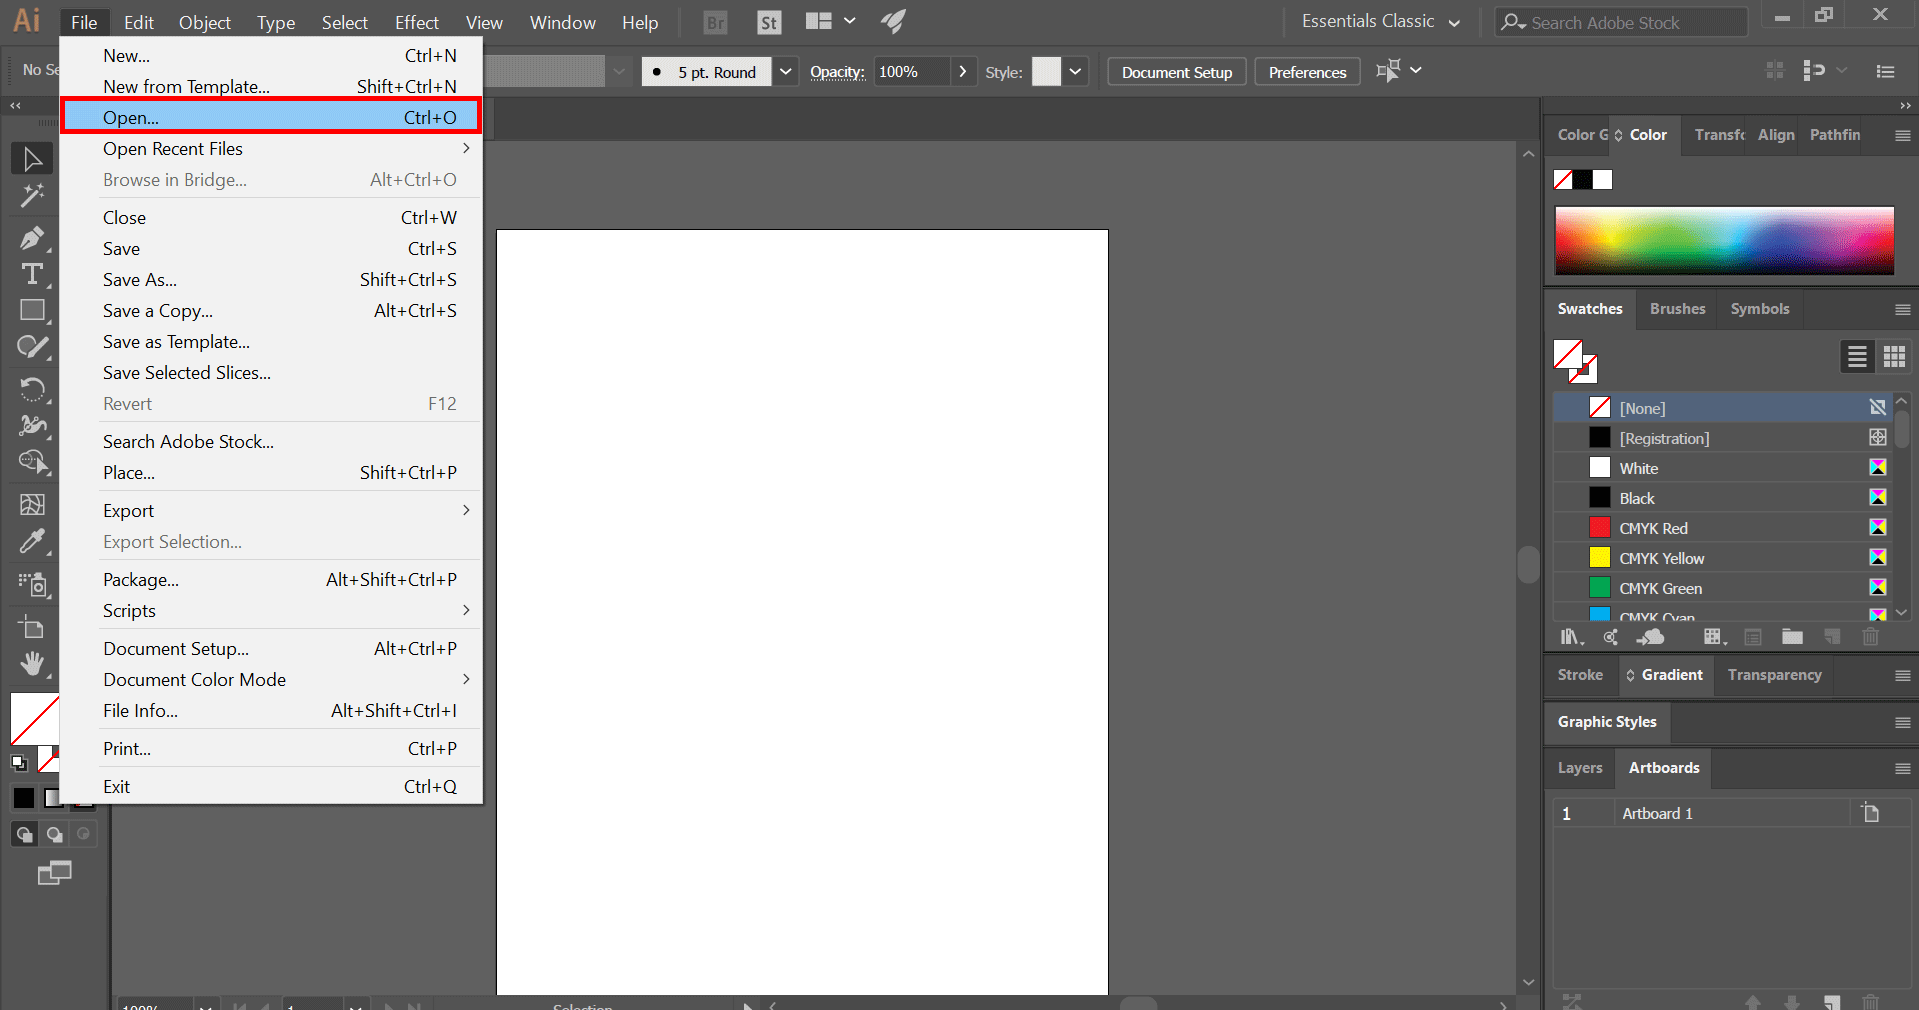
Stride two: If you already take a saved file, you lot can access it from the File carte. Using the file card, select Open and pick the file saved on your hard drive. The shortcut for the same is Ctrl+O. If the file is recently opened, yous can access it from opening a recent file option besides.

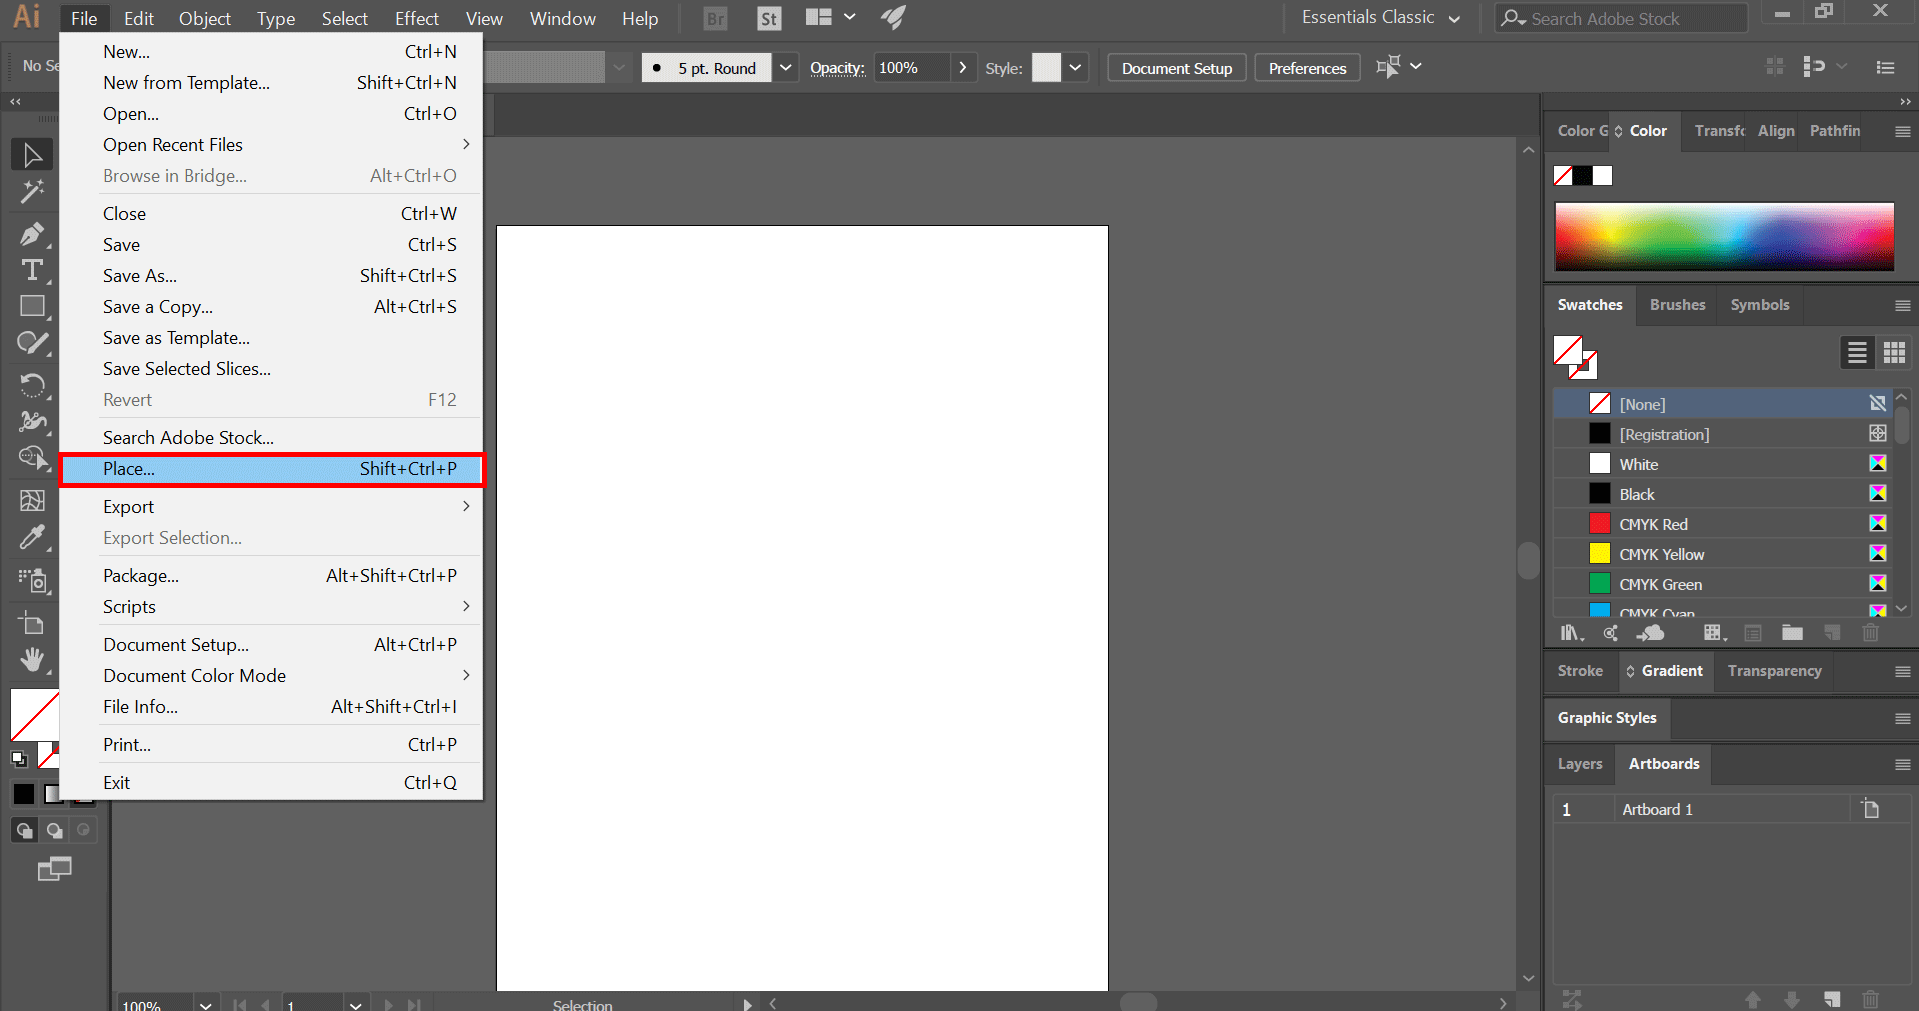
Pace 3: Once the document is open, from the file carte du jour, go to the Place selection. This shortcut for the place is Shift + Ctrl + P.
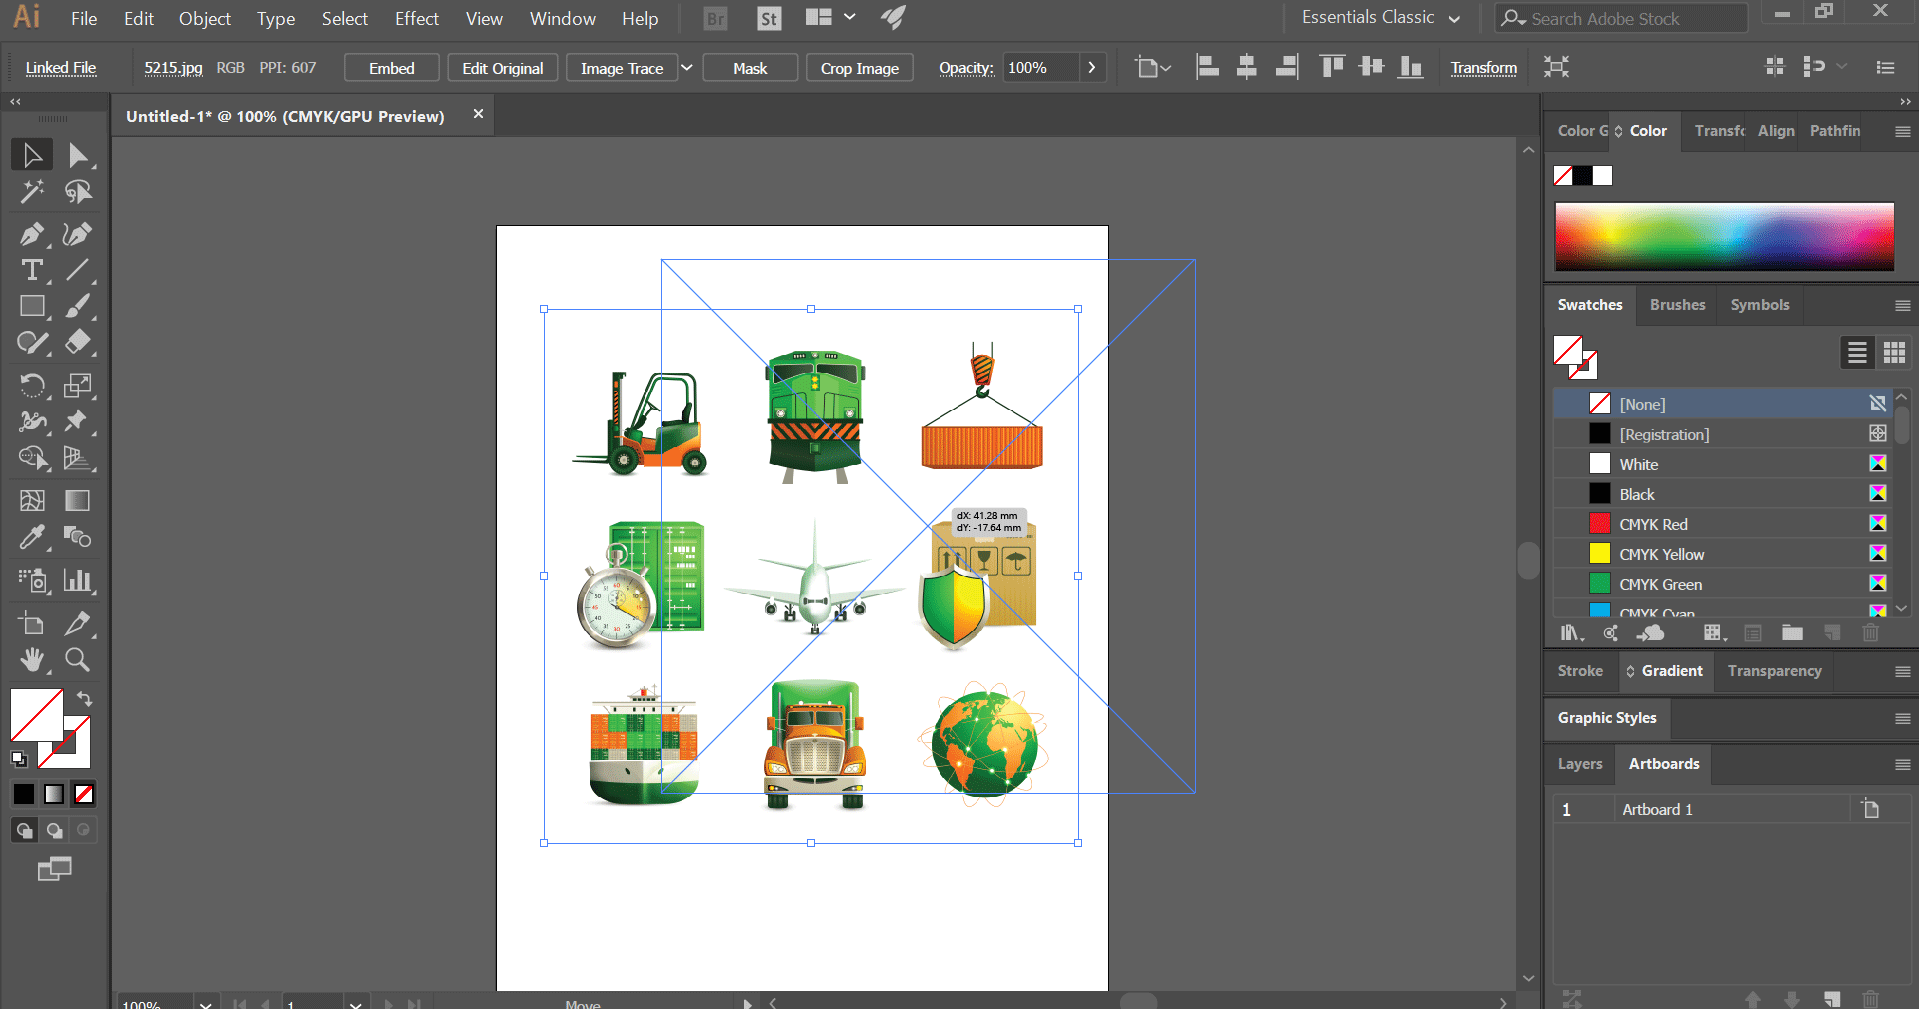
Pace 4: This opens up a dialog box from where you can choose the prototype you wish to add to your certificate. Choose the correct one, and yous will accept the option to identify it anywhere on the document with the help of your mouse cursor. Drag the mouse cursor equally per your preference, and the prototype will be proportionally placed on the path of the mouse cursor.
Stride five: Once the image is placed, yous tin further resize or re-position the image. For that, use the anchor points on the bounding box of the paradigm. Elevate on information technology as you want to resize the image. Information technology is always better to agree the shift key while dragging to get an even result while resizing the image.
In order to move the epitome, yous can either drag the photograph using the mouse cursor or use the keyboard navigation keys. While using the keyboard pointer keys, if you combine the shift primal, information technology will move a longer distance than using the normal arrow key.
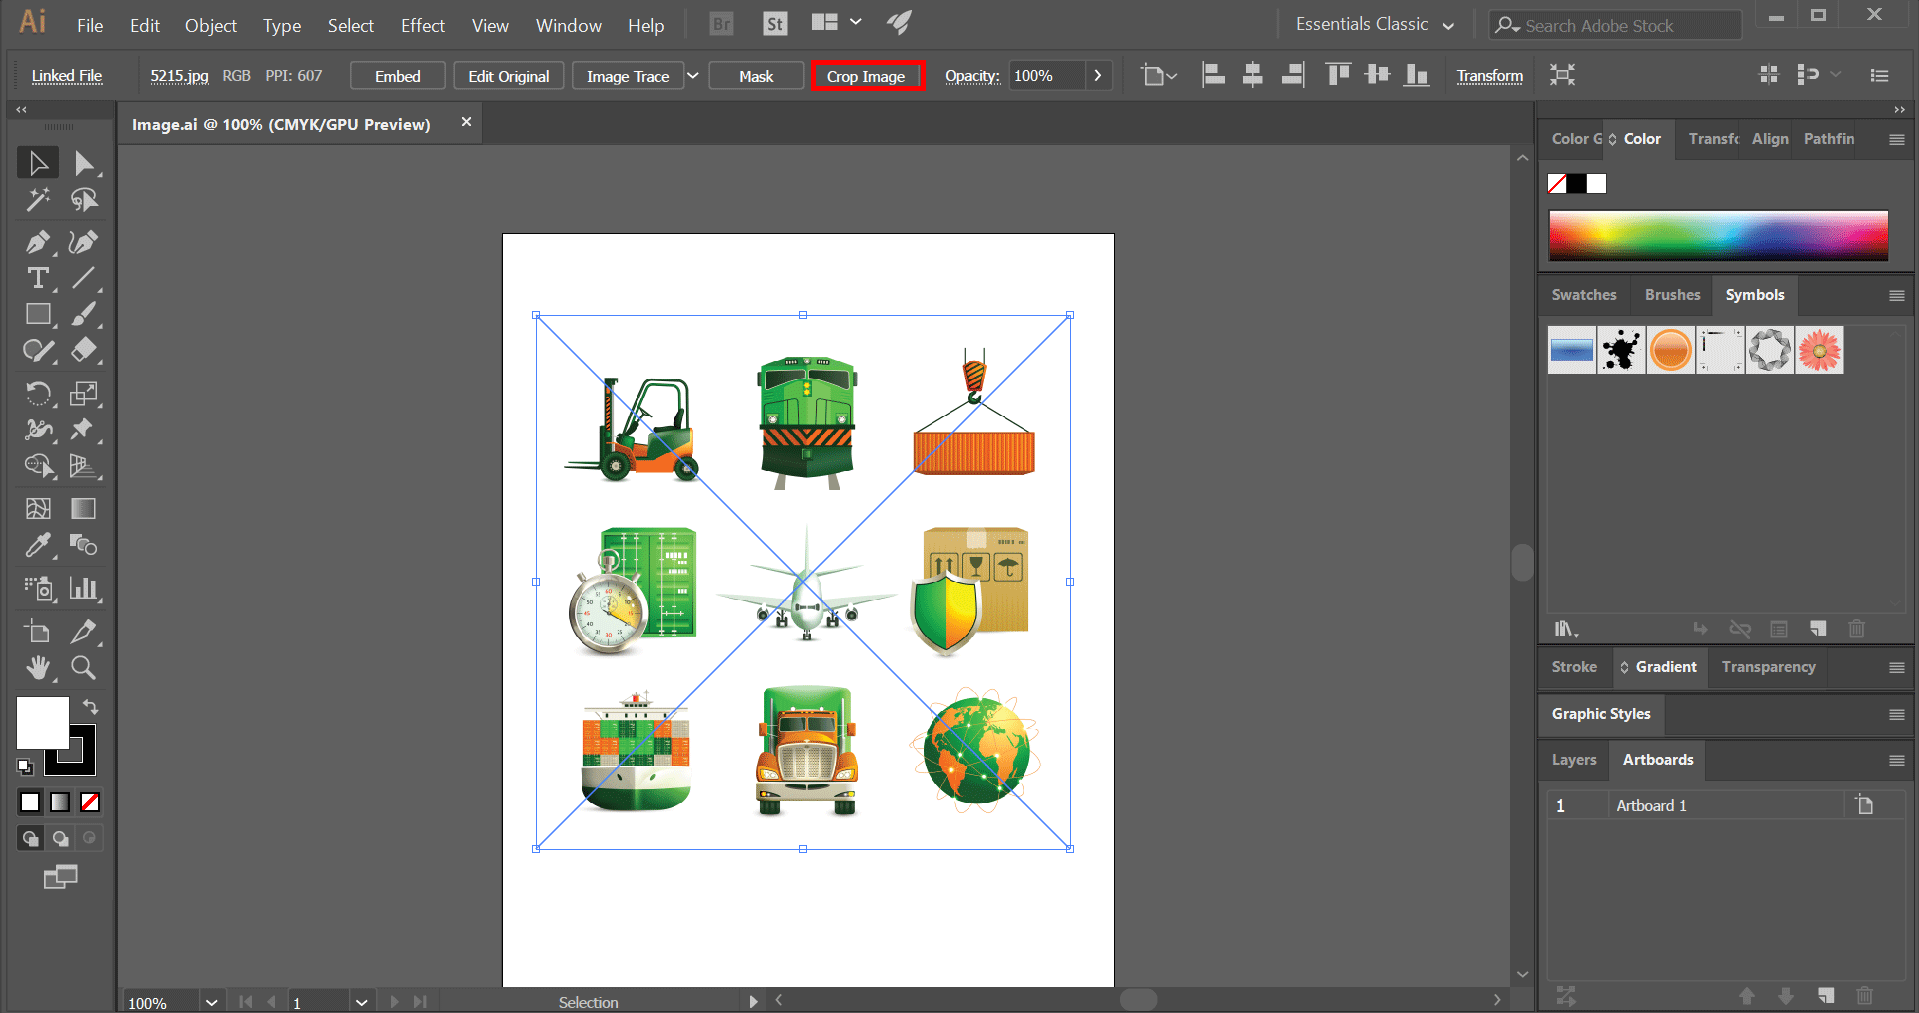
Step half dozen:If y'all want to crop the prototype, simply click on the paradigm and go to the crop epitome option on top of the document. After that, using the mouse, crop the image as you lot demand. In one case the cropping is exactly as per your demand, press Enter to confirm.
Step 7: For transforming the image for applying various options like move, rotate, reflect, scale, shear, etc., use the transformation tool. For opening the transformation tool, right-click on the epitome and select transform. Adjacent, hoover to the corresponding options panel equally shown in the below prototype. The panel contains all the to a higher place options, from rotating to calibration.
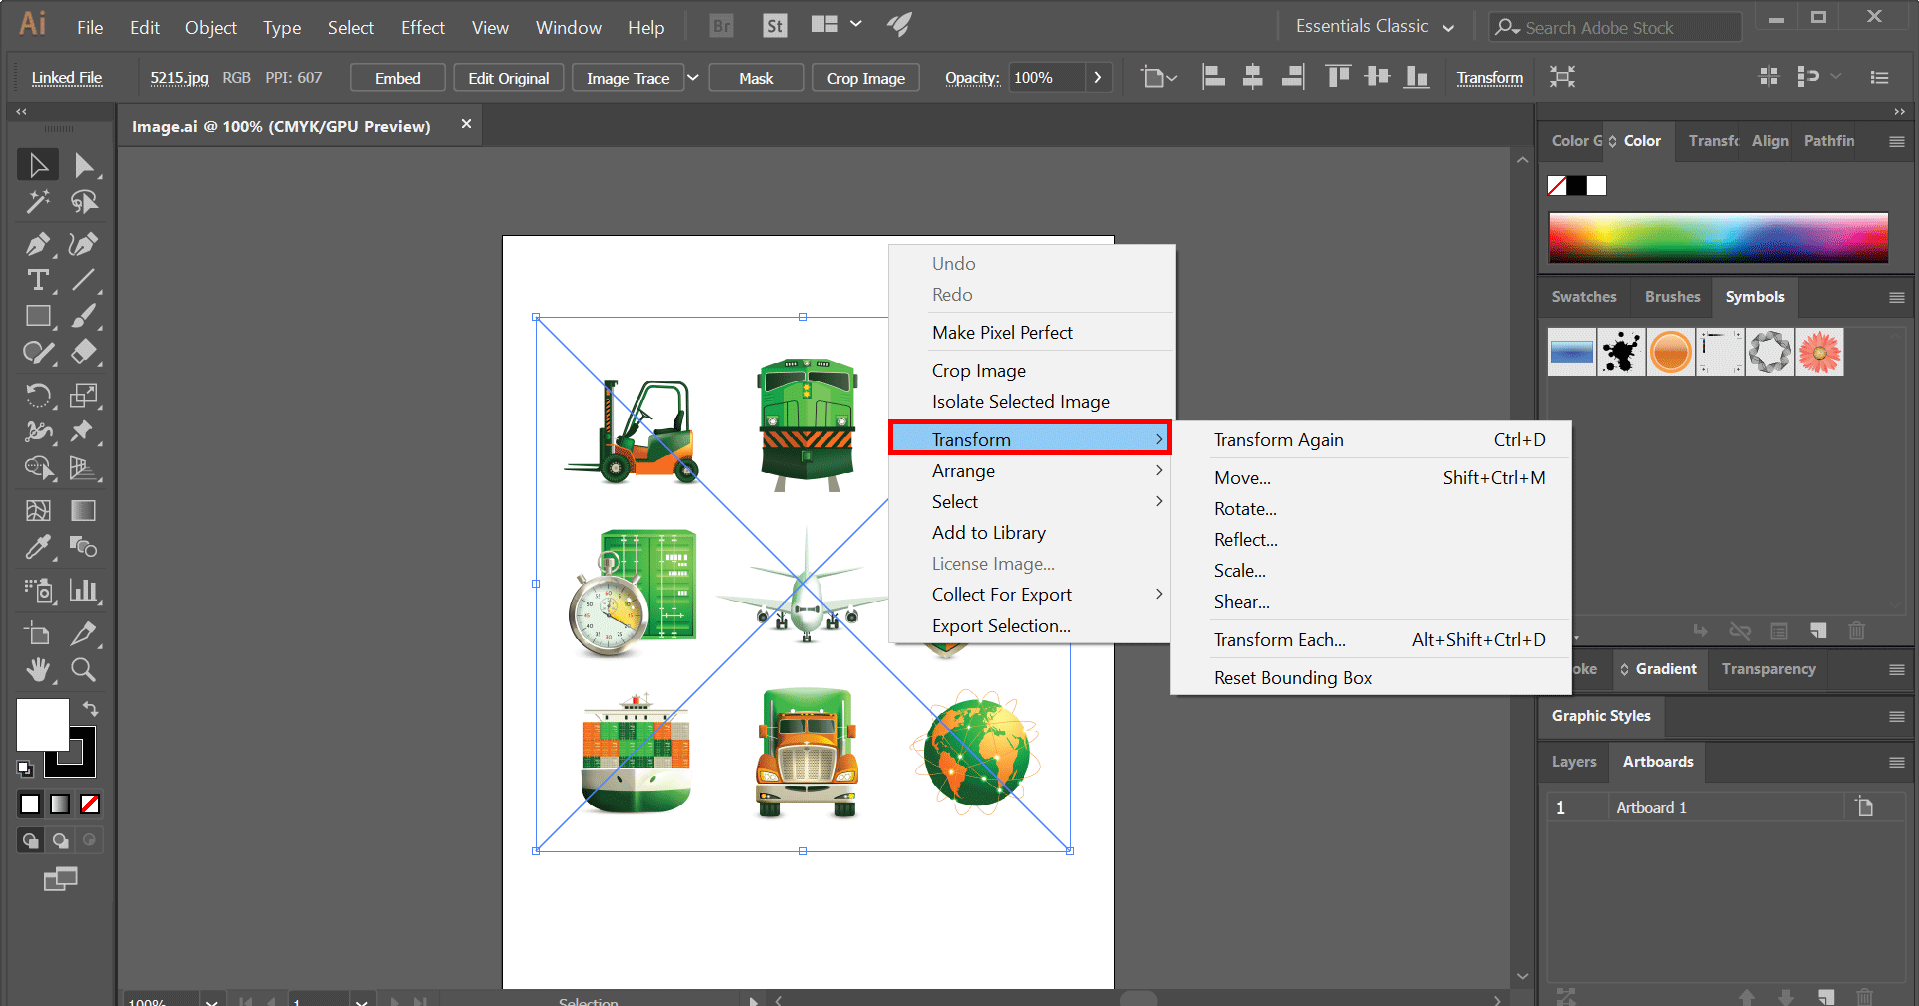
Image Trace in Illustrator
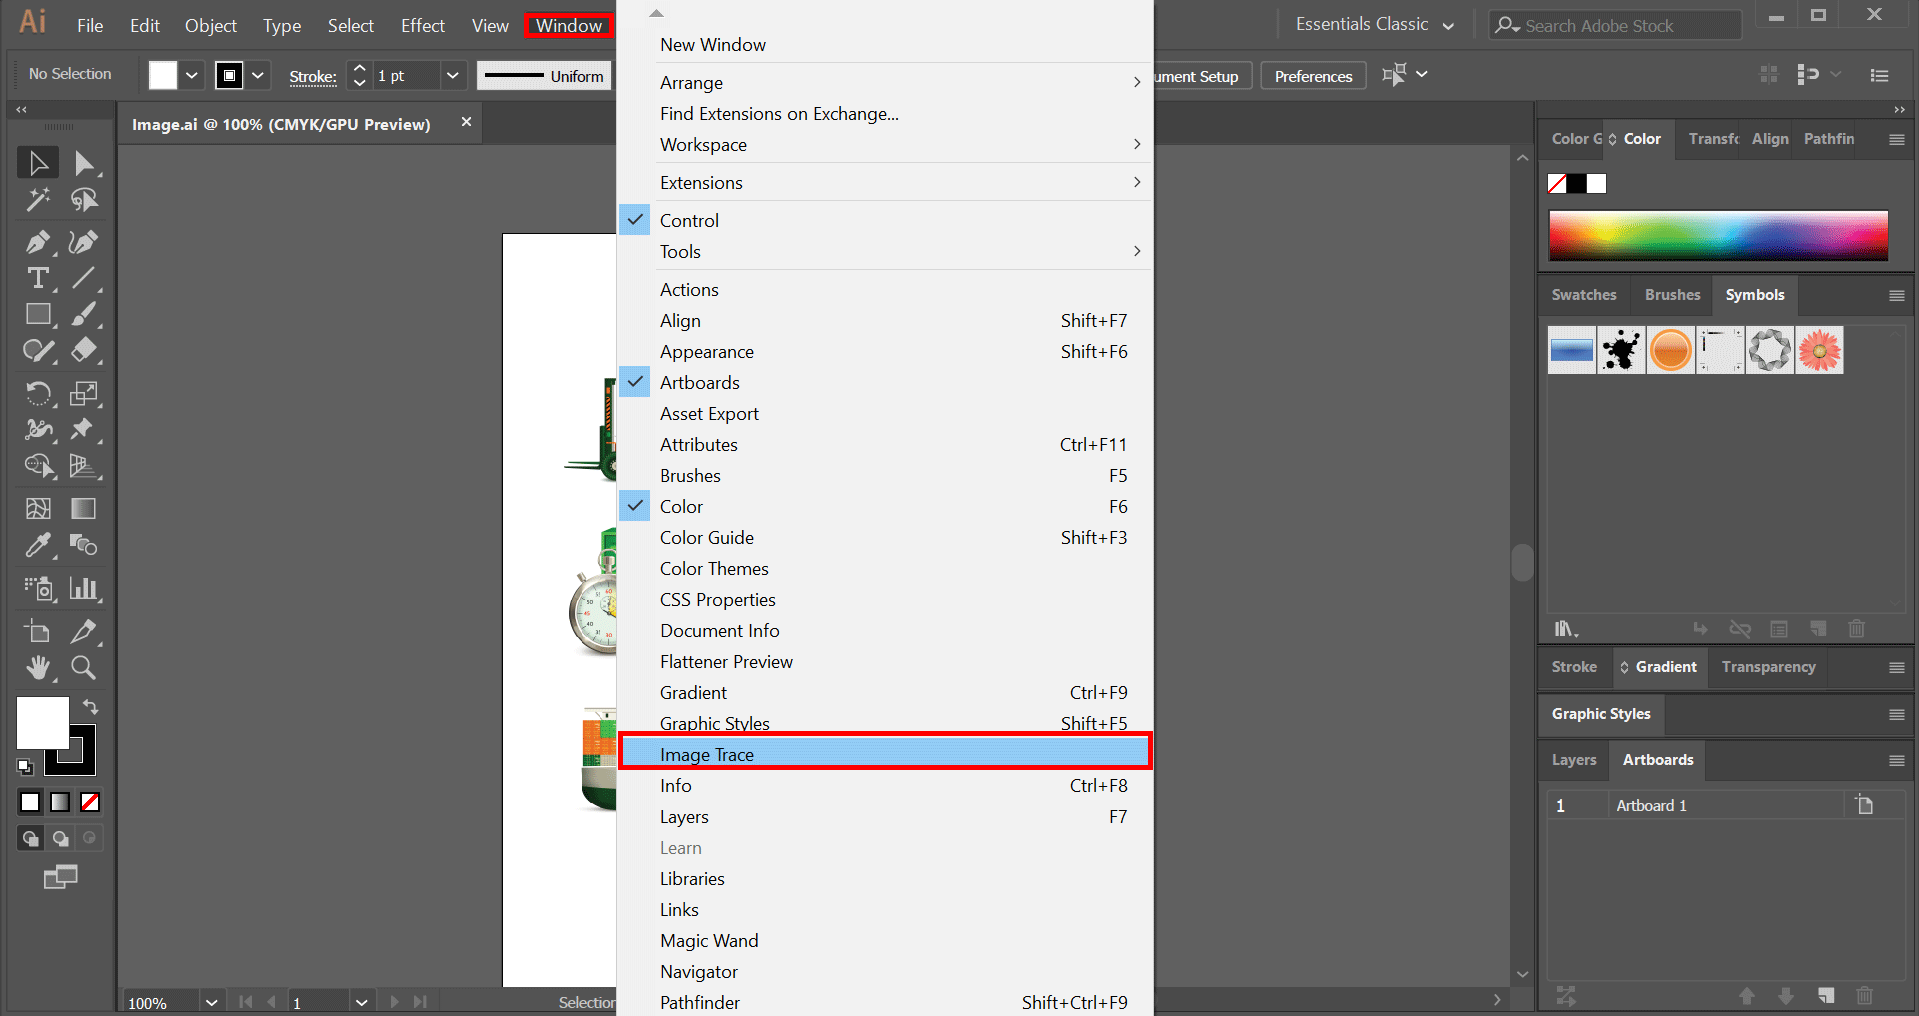
In the next process, you will learn how to alter a raster epitome into a vector prototype format. At that place is an choice to utilise the trace feature in Adobe illustrator, which converts your images to the vector format. Information technology is useful, particularly when you are trying to print your work in high quality. If the image is of raster kind, it volition lose quality when trying to scale upward. One time the image is converted into the vector format, it tin can be scaled infinitely without compromising the clarity. For doing that, you lot will need to use the Prototype Trace from the Window menu.
- After opening the prototype in Illustrator, go to Windows and choose the selection Image Trace. It opens the Image Trace Console.
- In the first row, y'all will find options such as Automobile colour, Loftier color, Low colour, Grayscale, Blackness and White, and Outline on the pinnacle of the box. You can endeavour them out by irresolute the values and applying the result the best mode you experience.
- The colour mode allows you to set the maximum amount of color for tracing your image. Grayscale can be used to gear up an accuracy ranging from 0 to 200. Whatever pixels darker than the threshold value volition automatically become changed into black. Below that, yous volition find options such as Preset, View, and Style.
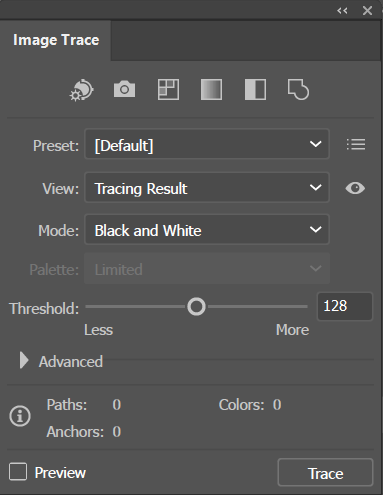
- Click on the preview box if you want to see the live event of your image while selecting the different values and furnishings.
- Further down, there is an advanced bill of fare downwardly option, which gives you fifty-fifty more tools and options to manipulate the image. This section has options to change the settings of Paths, Corners, Noise and much more.
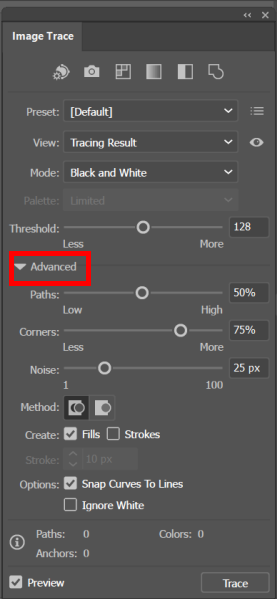
- The Paths can be ready from depression to high, the corners from less to more and noise from one to 100 pixels.
Image Saving Options in Insert Image in Illustrator
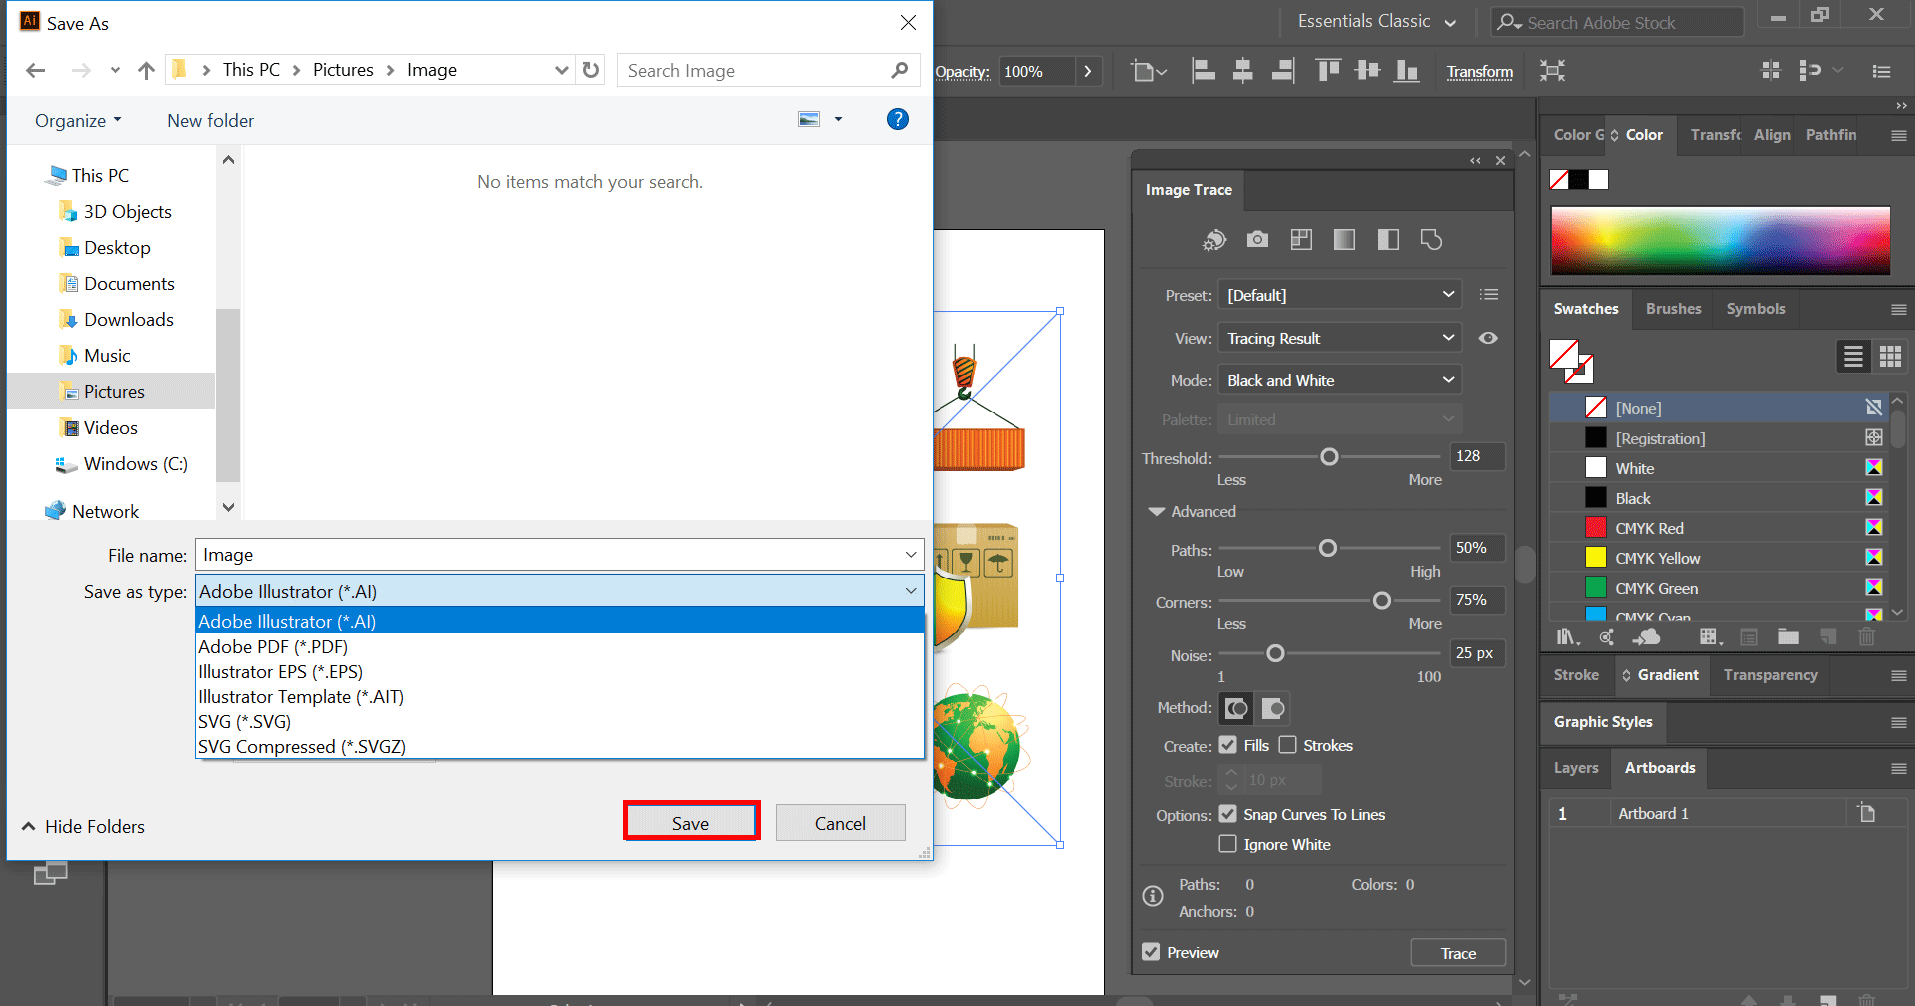
After applying the various furnishings and setting in your paradigm, finally, you will demand to save the created image into your hard drive. Below are the methods for saving your work in your preferred format.
- You can relieve the image in multiple formats such as Adobe Illustrator, PDF, EPS, SVG, etc. For choosing the format, go to File > Save As Option.
- If you are looking to export your work in an image format, and then become to File > Export. You tin come across a lot of exporting types such as AutoCAD Drawing, PNG, Photoshop, Targa, etc. You can select JPEG for now.
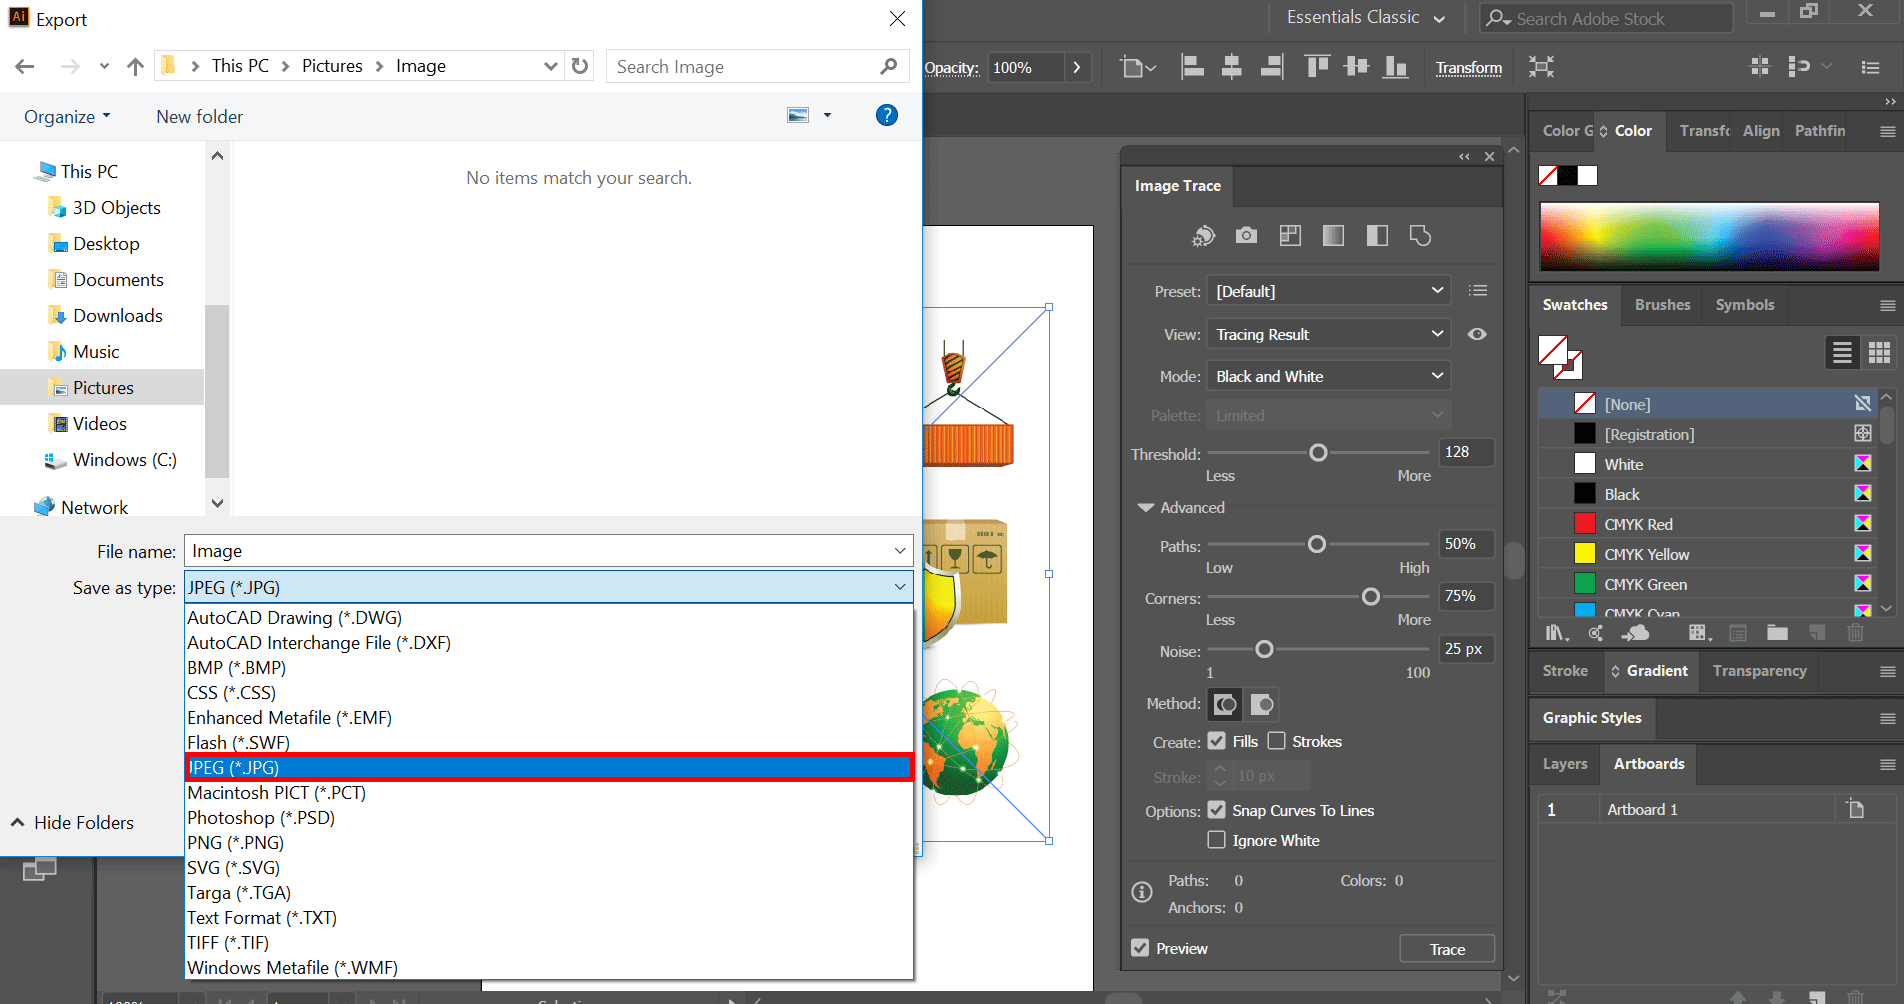
- Check the Use Artboard option to consign merely the contents inside the Artboard.
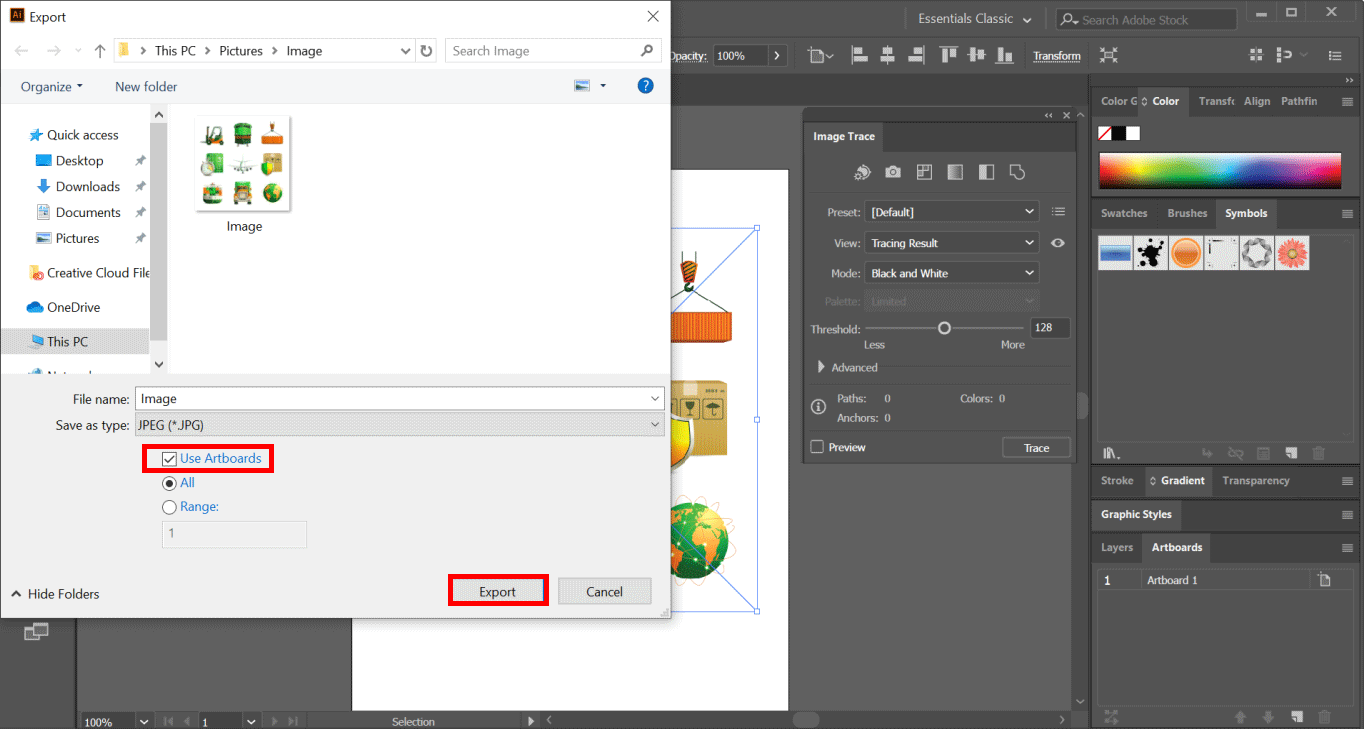
- Lastly, you will find a JPEG options panel. It contains additions details of the image such as Color mode, Resolution and and so on. Choose appropriately for your needs and click on OK.

Conclusion
Using the steps explained to a higher place, you can hands insert images into your document. You tin besides attempt exploring the various options provided in Illustrator to better position or align and give effects to your image. You lot tin can utilise these images in a wide range of materials such every bit posters, brochures, book covers, flyers, website designs, etc. Endeavor creating new designs utilizing images in Illustrator and enhance your creativity.
Recommended Articles
This is a guide to Insert Image in Illustrator. Here we hash out Steps to Insert Epitome in Illustrator, trace image, and saving option in illustrator. You lot can also go through our other related manufactures to learn more than –
- Graphic Styles in Illustrator
- 3D Furnishings in Illustrator
- Furnishings in Illustrator
- Smooth Tool in Illustrator

Source: https://www.educba.com/insert-image-in-illustrator/
Posted by: murphyyouseks.blogspot.com
0 Response to "How To Put Photo In Adobe Illustrator Template"
Post a Comment